
I recently purchased a refurbished Dell Inspirion 15 3515 AMD Ryzen 5 3450u 2.1Ghz for an amazingly low price. As with all things that are too good to be true I expected to run into some issues with the device. Right out of the box I found an issue immediately……it wont turn on! I then set to creating a workspace where I could safely open up my new friend and have a dig around. I haven’t worked on laptop hardware before but was feeling confident I could safely open the device as I had recently completed ‘Practical Help Desk’ from TCM Security where we reviewed the steps to safely open a laptop device and remove components.
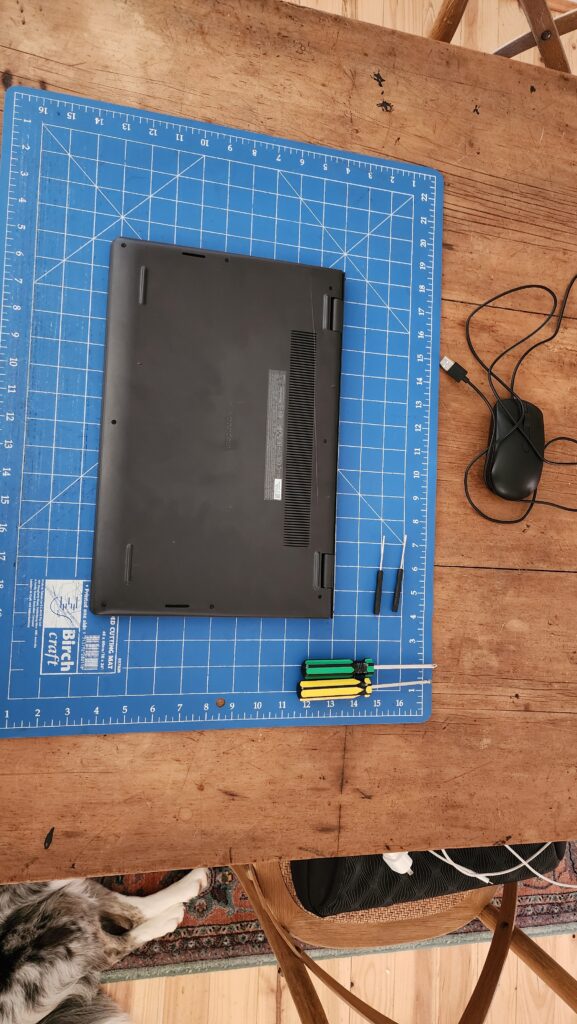
Once inside I removed the battery to check for damage but all seemed to be fine. I reseated the battery and after quickly checking other components visually (didn’t remove anything else) I closed it back up, plugged it in and tried again.
Immediately the device powered up so I assume the battery was unseated inside or something reset when it was removed? However once the device booted I discovered my next issue…..they sent the wrong charger!
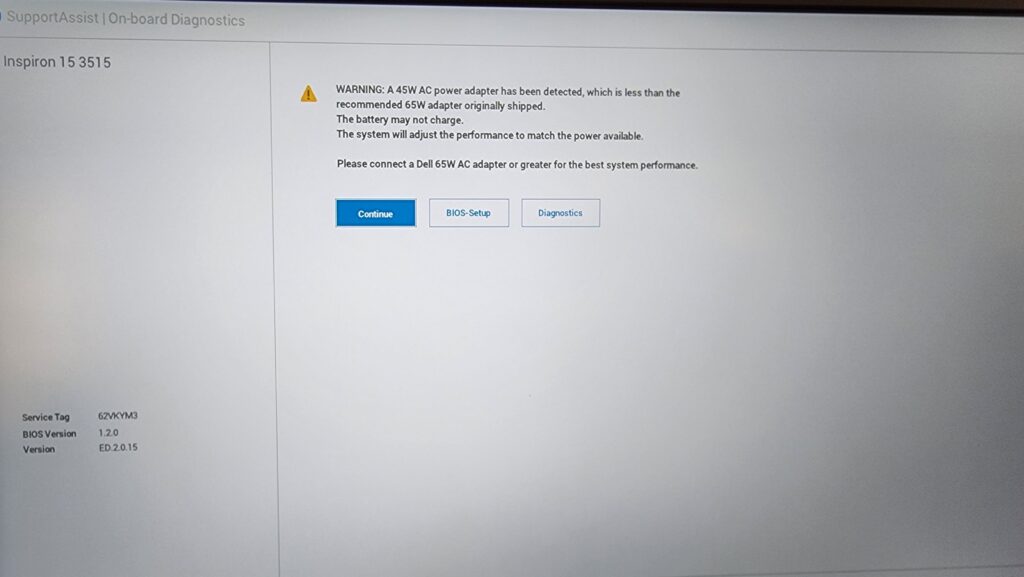
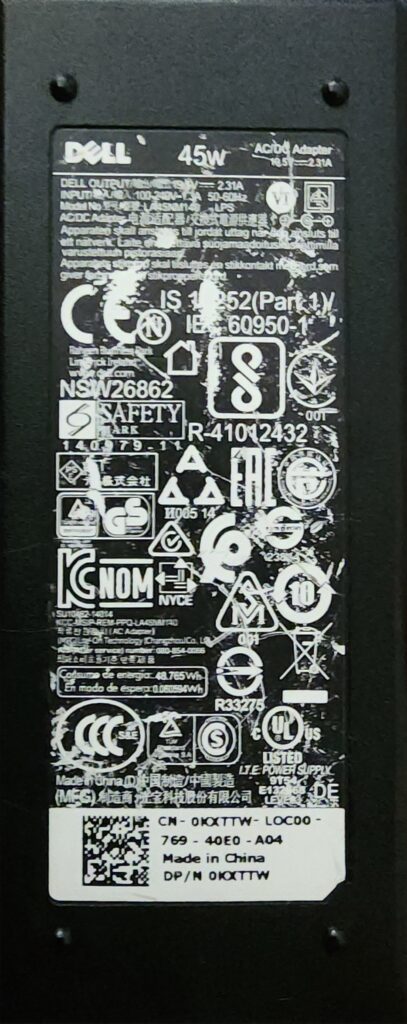
If someone has been running the device for extended periods of time with the low Watts I’m sure it wouldn’t have done the device any favours. I made it to the initial choose your language screen when I decided to have a browse for how much the correct charger would be.
After digging online for a bit I was able to find an appropriate charger for a very low price that I could pick up same day so that was an easy fix.
Upon startup I was prompted to setup my windows OS, all went smoothly, laptop was screaming the whole time but didn’t run into any issues during setup.
Once logged in I started running updates and came accross another issue :
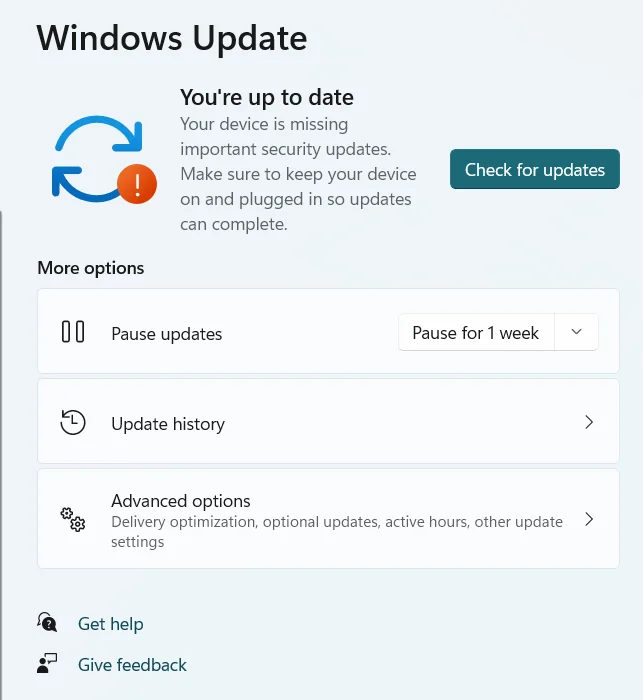
I was receiving a notice that updates will no longer be supported on the device. As it was windows 11 this was confusing to me. I installed all updates I could and decided to check the system diagnostics and test the performance of the device. The diagnostics checked and confirmed there were no apparent hardware issues. I then checked the speakers, ports (audio out, hdmi, usbs etc) and all buttons on the keyboard.
Then I decided to download an old classic PassMark to see how she stacked up against other devices. The appeal of this model (other than the insanely low price) was 4 core 8 thread as I am hoping to run a VM homelab on the device. I ran passmark and enjoyed watching it do it’s thing. The results however I enjoyed less. The device was underperforming for the specs it had.

After discovering this I thought I would give it a push and see how the functionality was when using the device. Previously when working on PC the most frequent way to crash a program I encountered was…..GIANT RED ALERT 2 ARMIES! I think I just found an excuse to dig out another classic.
I installed steam and RA2 without any issues. I ran the game and started a skirmish and had a great time building a large army, destroying enemies and conquering the map. Now for the full campaign…NO stay focussed! The device didn’t crash and I didn’t encounter any lag at all. Pretty happy. I shutdown the device (more updates to be installed) and went off to do other study for a few hours.
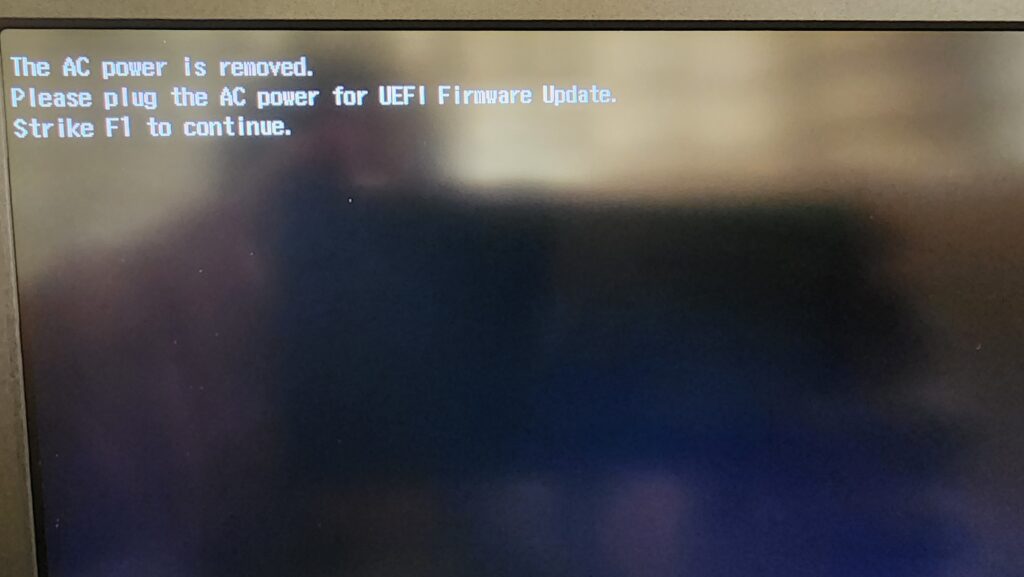
That night when I returned to the device to begin building my homelab (CWL C3SA Lab is next) disaster struck.
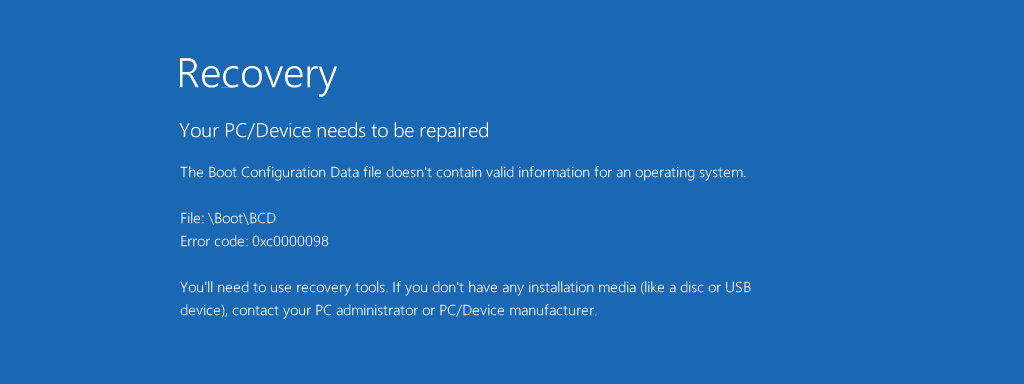
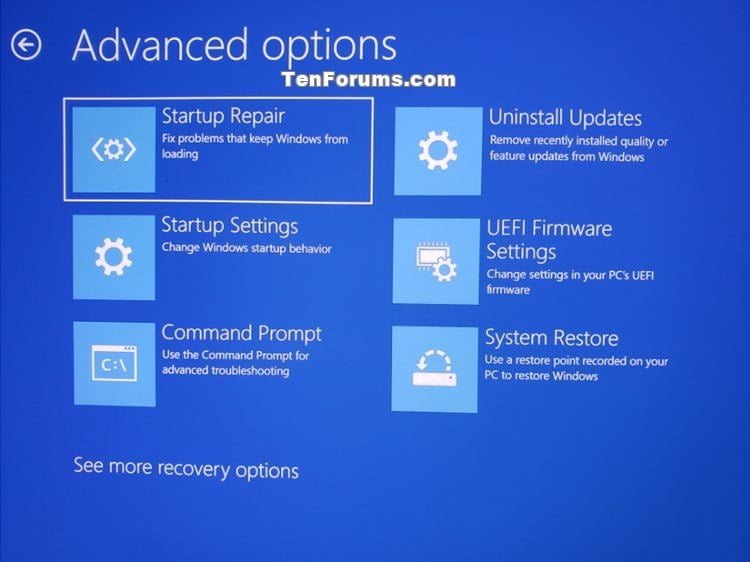
I knew I was in for an evening as I was determined to get the device functional the day it arrived. I pushed f1 and headed to troubleshoot (pic below is similar example but not the same as I didn’t document the errors at first)
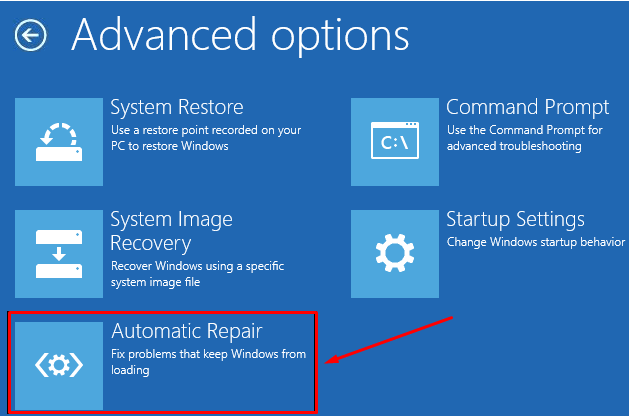
I attempted to run repair but it returned unable to repair and shutdown the device. I attempted reboot again and tried to restore but was unable to locate a restore file (as I hadn’t taken a snapshot or restore point) I then tried digging for a recovery image but there wasn’t one. There was the option to explore the network for one, I was hoping this would be a connect to wifi and download required files solution but it was after an address on the LAN which I didn’t have.
I shut down the device and I began to research a solution which lead me here
I worked through the steps of startup repair again to ensure I hadn’t missed anything then moved onto creating a bootable usb. As my other machines are MAC (or Mac running Ubuntu) and I didn’t want to spend money (yet) I wasn’t able to follow the same steps to create a repair partition via usb connection so moved onto the next step.
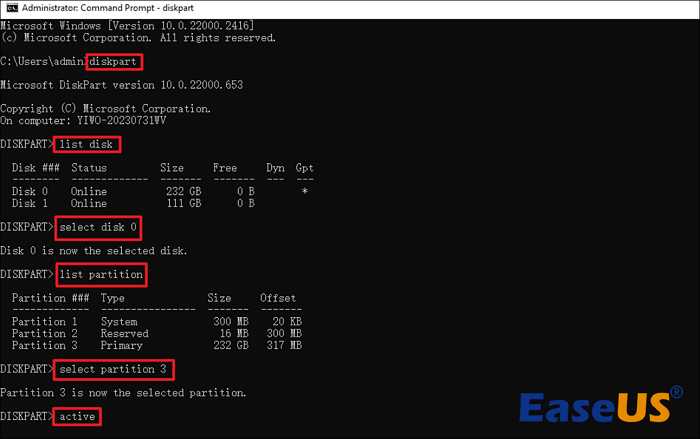
I navigated to the cmd prompt and followed the steps to check disk partitions were accessible and the right one was associated with the boot sequence.
When I came to the next stage I noticed I didn’t have the Reset This PC option which was confusing so I searched for a screenshot that had the same options my device was showing. I found one and it is Windows 10! So this suggested to me that the device is trying to boot windows 10 but doesn’t have the windows 10 boot file as it was updated to 11? Time for more research.
After alot of digging I discovered the prompts I was getting suggested the device was trying to run Windows 10 V22H2 which would’ve been the last windows 10 update installed before someone updated to 11 via the Windows 10 interface. Luckily others had encountered this before so the consensus was time to reinstall 11 directly from Bootable USB.
I had recently created a bootable flash for ubuntu so I started to make a windows one using the steps I was familiar with. I downloaded the windows 11 ISO from microsoft https://www.microsoft.com/en-us/software-download/windows11
Inserted an 8gb usb and opened up balenaEtcher. When I went to flash from file I was prompted by “Image does not contain partition table”. I continued with the process regardless. After it was completed I inserted the USB into the Dell and attempted to boot but the USB was detected by the PC. I assumed it was to do with the notice balenaEtcher gave me so I went back to the previous step. As I am using silicon mac I no longer have the boot camp assistant option so decided to create the bootable usb via terminal.
I found a couple options and jumped in:
https://monovm.com/blog/boot-usb-with-cmd/
I followed the steps and successfully created the boot usb via terminal. I decided to check if it worked via virtualbox on another machine and success!
However when I attempted to boot from usb on the Dell it still didn’t recognise the USB.
This lead me to digging into ways to help the computer recognise or locate the USB. I entered command prompt via advanced options and explored what commands were available. I was able to see that the USB was identified as a Disk but was unable to be accessed without reformatting. I didnt have permissions to use systemrestore or factoryreset commands. I also rebooted and hit F2 to enter the Bios and started digging around in there to see if there was a way to tell the computer to boot from the usb. After much exploring I was unsuccessful at locating the USB via this interface.
Back to researching and I managed to find this gem of information in a relevant forum

It looks like I am going to need some software to help me install the Windows ISO WITH a partition table so it will be recognised. As I am looking to spend as little as possible on this project I started researching my options. I found this on github after looking for a mac alternative to Rufus https://github.com/toolboxforweb/rufus_for_mac?tab=readme-ov-file
As with all downloads I checked out the link
and read any relevant materials
As the github entry only had 2 stars I was hesitant but after ensuring it was safe I went ahead and downloaded the program. After installation I opened it up and was pleasantly suprised by the simplicity of the program. When I went to mount the ISO though I was prompted to make a payment, it was only 3$ so paid and continued moving forward.
It took quite some time, more than the other two processes I had previously done to mount the ISO but after completion it prompted me that everything was successful and I can remove the USB now.
Back over to the Dell and would you believe it the laptop recognised the USB! Big win but each time I attempted to run the boot it would start the process then shutdown the machine. Concerning. I jumped back into the BIOS and had a browse of the boot order. Everything was in the right order and couldn’t identify an issue. Still when I ran the boot from usb the machine would just shutdown after starting the process. I was feeling stuck at this point as I couldn’t find evidence of others having a similar problem anymore online. I decided to try something myself. I went back into BIOS and deleted the other boot drive (samsung something or rather, should’ve written it down). This only left the usb as the boot option. I shutdown the machine, unplugged and plugged back in the USB and startup up the machine. I hit F2 and selected the drive to boot from (only displayed the usb option as expected) and this time the install ran all the way through. From here installation was smooth and successful. If anyone can explain how removing the other boot option resolved the issue Iwas having running the bootable usb I am very curious to know!
What I learnt:
- How to create a Bootable USB for Windows 11 from MAC
- How to navigate the Windows Recovery screens
- How to navigate the BIOS in depth
What to improve on:
- Documenting the process in real time, I usually rely on screenshots so need to get in the habit of taking photos if screenshots aren’t possible
- Ensure to add file locations and hardware names to notes along the way
Thanks for reading, if you have any feedback or similar projects of your own I’d love to hear about them.


Leave a Reply